Showing posts with label stamping. Show all posts

Thursday, 24 January 2013

January postcard swap

This is my postcard for the January postcard swap over on UK Stampers forum


The theme this month is New Beginnings
I'm fond of this stork stamp & stamped it out & coloured it in using my copics & a white paint marker. I removed the leg portion of the stamp when I cut it out & positioned him as 'flying in'


I used individual letters from a small stamp set to stamp the wording


and I stamped the sentiment stamp using distress ink & then popped the hand & foot prints on.

Tuesday, 15 May 2012

3 stamps


The Less is More challenge this week is a one layer challenge to use just 3 stamps on your card.


I've used 3 stamps from a Personal Expressions set, stamped in a line.


and coloured them using my copics.

No sentiment as I'd used up my three stamps & although tempted to write a sentiment, not stamp it, I resisted & kept it truly LIM :-) 


Friday, 10 February 2012

Die cuts


This is my entry for CHNC - the theme this week is die cuts

I used die cut snowflakes which I cut using my Big Shot.


Firstly I stamped out the scene & lightly coloured with copics, then I used various stickles to highlight the snow.
I mounted the scene onto backing bazil


and finally sprinkled my die cut snowflakes from above.


Thursday, 26 January 2012

Glorious Greens


is the colour theme for the Gingersnap Creations challenge
& this is the card I made for my MIL's birthday tomorrow.

Firstly I used 3 or 4 green distress inks to make the background which I then cut into squares & backed with dark green.


I added the ribbon & buttons & the birthday sentiment stamped with green stazon ink, mounted on white card.


The flower/vase image was stamped using the green stazon again & cut out leaving the white border.


The butterflies were punched using my Martha Stewart punch in the dark green backing paper for the base & multi coloured greens for the top, which I enhanced with crackle medium (doesn't show too well in the photo)

So there you have it - Happy Birthday MIL!

Sunday, 22 January 2012

Just sneaking in .........

with my entry for the Gingersnap Creations colour challenge - soft yellows & white.


To make the background on this card I used my embossing folders to create texture & then used chalks to delicately colour - the first highlighted on the top of the pattern & the other in the valley of the pattern.


The other background I made by using a script stamp stamped onto bazil. I then 'aged' the edges using inking.


I used the script background & stamped the flower & used my Copics to delicately colour the stems & leaves.


I stamped the sentiment onto white card & coloured with my Copics & added the white & yellow & white spotted ribbon & finished with the forever friends sentiment.

Wednesday, 26 October 2011

Challenge Notebook


To get myself more organised I've made myself a little Craft Challenge Notebook to note down challenge requirements & the date they need to be done by.

I covered the notebook & used the toning back of the 12x12 paper for the title block


I stamped the sentiment


I then cut out the flowers & positioned them in the corner


and in the lower corner popped them on the end of the stamped stems.

Finished with some faux stitching round the edge using my white gel pen after handwriting the title.

Monday, 24 October 2011

Halloween postcard


This is my postcard for the postcard swap over on UK Stampers

Can you guess this months theme?

Yes it's Halloween :-)

Firstly I used my distress ink pads to lay down the blue & orange & where they overlap they give a spooky greeny colour.


I stamped the images & then used distress crackle glaze  to highlight & give the spooky feel


I distress crackle glazed the body of the spider & attached it to the spider web stamped in the corner using a drawing pen.


Finally I stamped the date

Monday, 8 August 2011

Flag inspiration

The Less is More challenge this week is ....

This week it's time for another colour challenge and for your delectation this week, we have decided to ask you make a card  using the 
COLOURS 
of 
YOUR NATION'S FLAG!
We should be able to see quite a variety of colours this week as we are fortunate enough to have crafters from all around the world sharing in our challenges. If you could describe the colours of your flag or include an image of it, that would be great.


This is my card based on the Union Jack


For the background I used a piece of red card & a piece of spotted Bazil both of which i put though my nifty tool to make them corrugated to give a bit of texture. 
I then mounted them both onto a piece of blue card.


I then stamped the image onto the blue card using white ink & cut off part of the image & inked the edges to give a bit of definition.


Here you can see the blue base coming through the white ink.


To finish I stamped the sentiment straight onto the card.

So there you have it my Union Jack inspired red white & blue card.

Saturday, 6 August 2011

Postcard swapping


The theme for the August Postcard swap on UK Stampers is Tea Time
and this is my postcard for the swap.

For the background I used a torn page from an old book & distress inks.


I used a Paper Artsy script stamp & then over stamped with the pocket watch (a freebie from Craft Stamper magazine)


both of the other sentiments are Paper Artsy stamps


The cup & saucer is another Craft Stamper magazine freebie

I firstly stamped it onto the card in the position that I wanted, then stamped another onto white card & inked it & then liquid embossed to make it more prominent & shiny to draw the eye. 

It was then left to dry properly & then stuck down firmly.  

I'm looking forward to seeing the other participants creations now :-)

Saturday, 25 June 2011

Vintage Choice


This is my new creation in situ  in my hall


It is my entry for the Vintage Choice Competition on the UK Stampers forum

'Vintage Choice'. To be in with a chance to win we need you to make a crafty creation in a vintage theme with any colourway and use at least 2 of the following 6 items in its making:
Lace
Ribbon
Fabric
Pins
A Vintage Photo
Glitter

I started with a plain wooden frame


I forgot to take a 'before' picture! but this is the back of the frame.
I used my new pot of Inka Gold to colour the frame - it's lovely to use & gives a gorgeous finish :-) It's from the Craft Barn

I made the flowers from double sided 12x12 paper using a coil technique that I just came across whilst mooching round the web - can't remember where just atm but will let you know when I find it again as it was a well explained tutorial :-)


The image underneath the top of the photo is a rubber stamp stamped onto fabric using timber brown Stazon ink. Gives a different texture :-)
The watch was a piece given to me by my daughter for my crafting - think she will be pleased with it's use as she & her Great Gran were very close :-)


The background stamp, stamped in Distress ink - Fired Brick is by Lyndsay Mason & the stamp across the corner is from a Paper Artsy set
The butterfly is part of a necklace! & the key is from Calico Crafts & the lace from the Craft Den (apart from the butterfly & Paper Artsy stamp they are my winnings :-) )


The stamp is a new acquisition & stamped onto the same paper as the background & then cut out. The pin is from Charmed Cards & Crafts & I cut the length in half & added the beads which were from stash as was the diamonte buckle & the pearls.

The image of my Gran when young I copied onto photo paper 
to preserve the precious original.

I really enjoyed doing this project & managed to use everything on the list, apart from glitter!


Friday, 24 June 2011

Monochrome plus One Colour


Monochrome plus One Colour  
this month - I chose blue as my colour


I stamped my Alice stamp & coloured  her dress in blue 
using my Copic pens 
& mounted the image on a blue matt.


I stamped the sentiment onto the blue bazil & matted it onto the black card 
The sequin waste is also black in keeping with 
the theme of monochrome + 1

Sunday, 19 June 2011

Too late - but I'll share!


This would have been my other entry for the LIM In The Frame had I not had an unexpected invite to go out & eat on Fri evening! I'd made it but didn't get it photographed & blogged in time.


The frame was made from a scrap cut out of the external part of the frame that was about to be discarded by my friend - so I rescued it (I'm sure she thought I was going bonkers taking her scrap!!) & I used a square nestie to mask off the inside, both were spray mounted onto the card & the frame area that was produced was inked using distress inks

I then stamped the image into the center & then stamped the sentiment - both straight onto the card as it was a one layer challenge.

I have to say that the meal & night out in good company was very enjoyable! :-)

Thursday, 2 June 2011

LIM Pick a square Twice!

The Less is More challenge this week is a recipe


PICK A SQUARE 
        For our challenge this week we have a multiple choice.... well sort of ... you can choose which of the 5 SQUARES from our plan you wish to use to place the image of your card, leaving the rest as PURE WHITE SPACE!
The image may overflow the area slightly if necessary  and the sentiment, should you choose to use one, may extend outside the area also, but it should be obvious exactly which area of the card you have chosen to fill.
" We will allow a rectangle, but, following the strict guidelines as the squares "


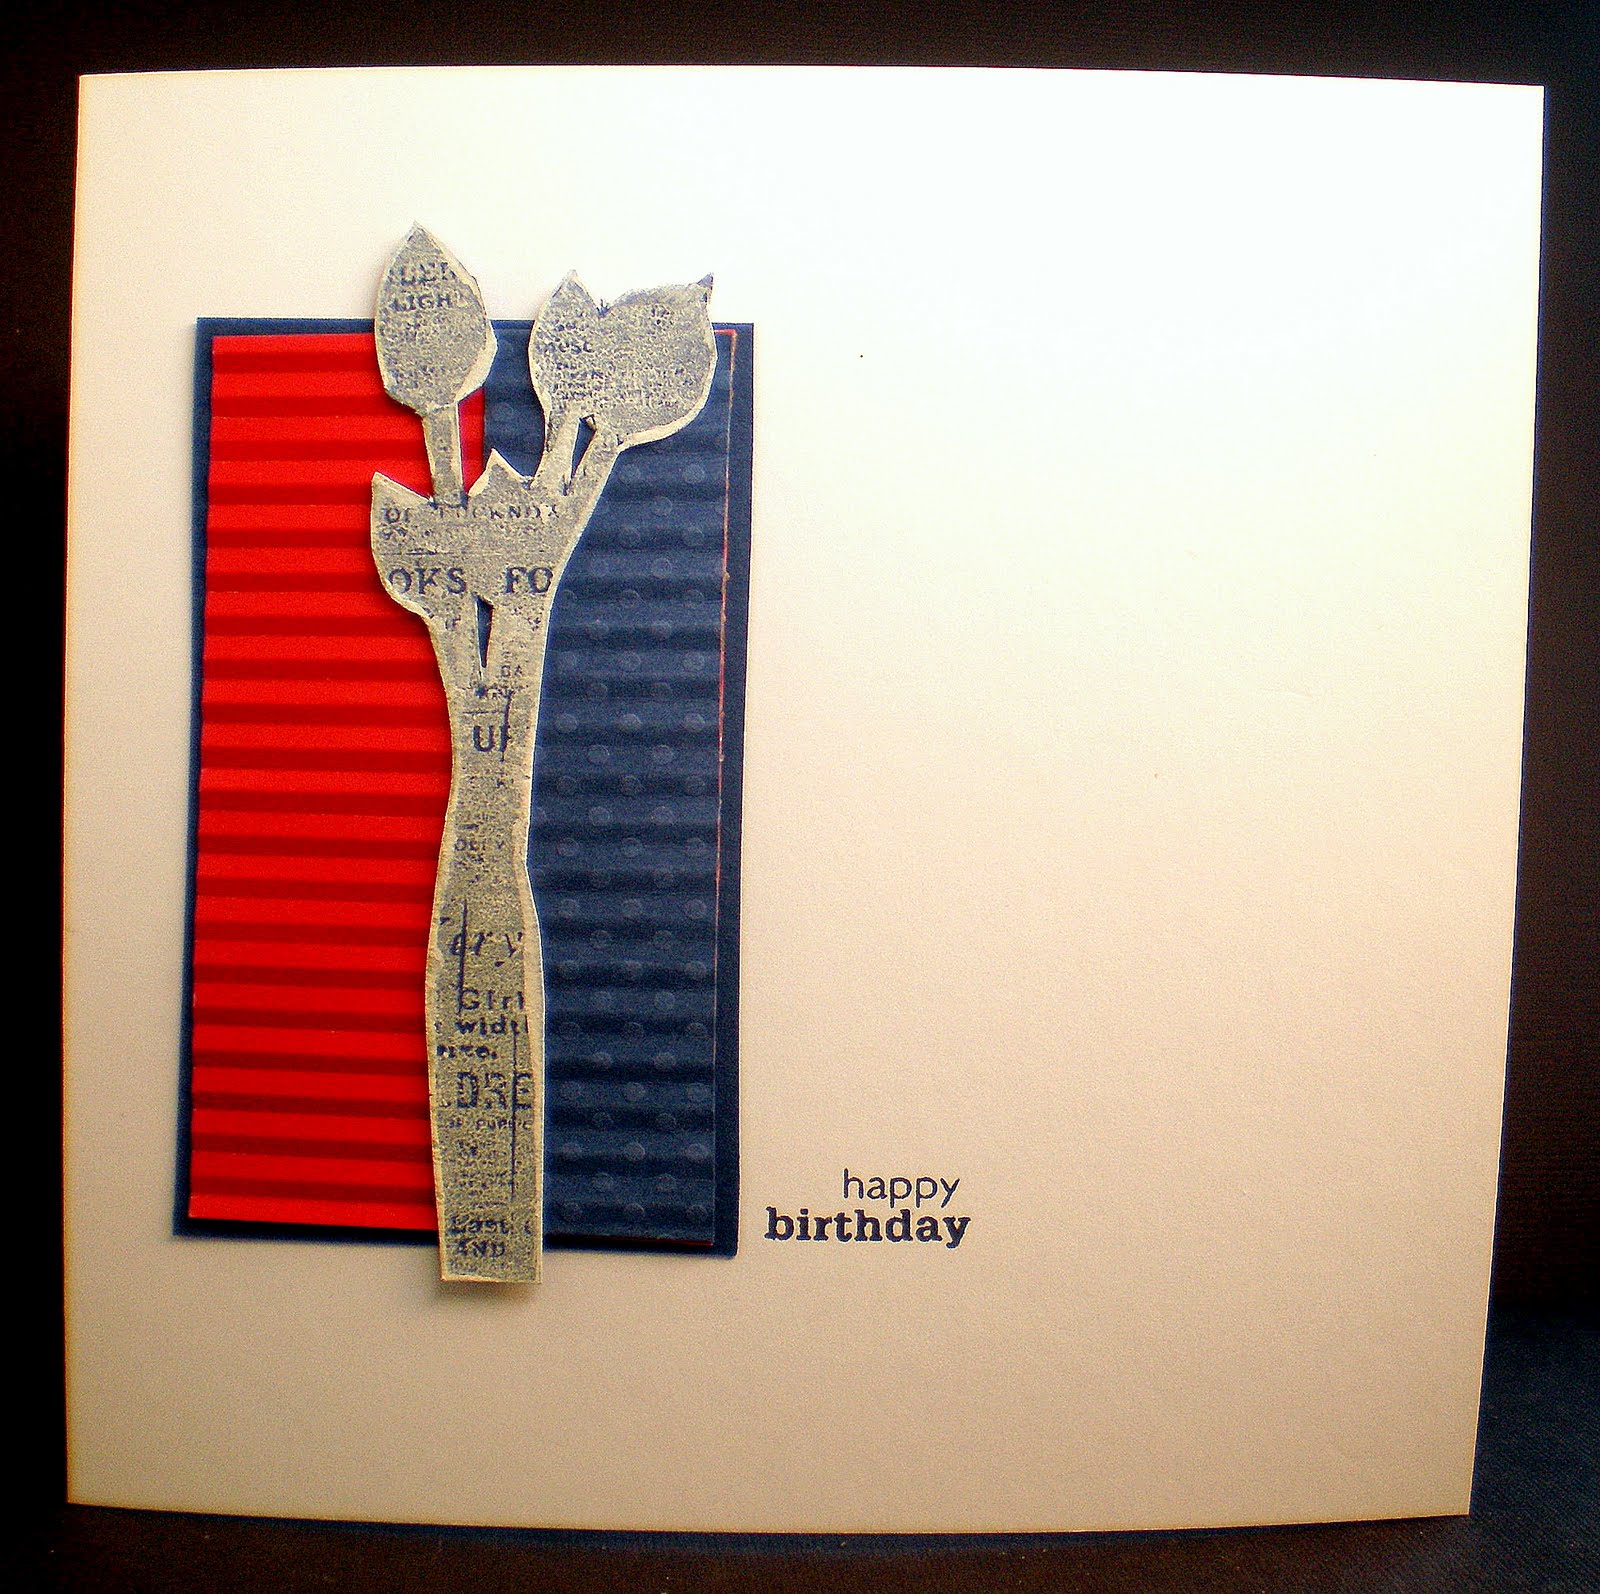
I picked bottom right as placement.


I stamped the sentiment & cut it out
then stamped the rose image, cut it out & coloured it with my copics, placing it behind & in front, twining round the sentiment


I then gave a bit of colour to the sentiment using my chalks taking it over & around the sentiment onto the card.
To finish I coloured over the sentiment words with a green Copic pen.


And next


For my second card I chose the top left placement.


The image was stamped in brown ink & again I used my copics to colour the fairy & the background I chalked.
I went over the wings with my new marker


it is clear but adds a sparkle so the base colour shows through 
& in the light it twinkles :-)
I also added Stickles around the edge of the wings.


To finish I added the Smile sentiment which I cut out 
& chalked & added to the image 
& then stamped the Thinking of you sentiment straight onto the card.